


In this article, I'll show you how to build a Jar file using the Gradle build system. Let's get started.
Do you need a Fat Jar?
Before we dive into the process of building a Jar, let's address whether or not you need a fat jar. But wait,
What's a fat jar?
The fat jar is the jar, which contains classes from all the libraries, on which your project depends as well as the classes of the current project.
In other words, a fat jar is self-contained and when executed like java -jar my-fat-jar.jar, it will work without setting up any other dependencies.
Let's see how to set it up.
In your build.gradle.kts add the following lines:
tasks.withType<Jar>() {

    // ...

    from(sourceSets.main.get().output)

    dependsOn(configurations.runtimeClasspath)
    from({
        configurations.runtimeClasspath.get()
            .filter { it.name.endsWith("jar") }
            .map { zipTree(it) }
    })
}
and that's it. This will now build a fat jar, if in case you decide you don't need it, just delete these lines.
Building the Jar
Building a Jar is a fairly simple process
Open the Gradle tab, go to
Tasks/build/jarand create a jar file.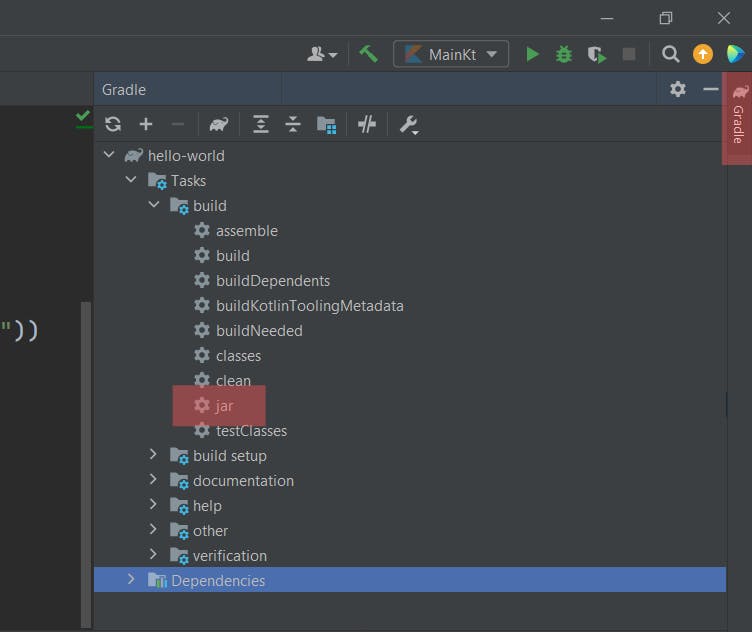
The jar file would most likely be created at
/build/libs/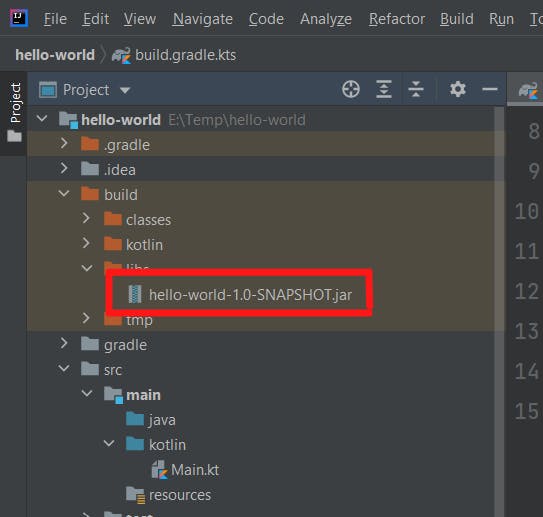
Credits
Cover Image: Photo by Dan Dennis on Unsplash